Showing posts with label Home Stuff. Show all posts

Monday, April 4, 2011

How We Did It

 I couldn't have done it without Kirby.
He is my handyman.

I showed Kirby THIS project I found, to see if it was something he thought he could do with the tools we have. In their tutorial they are testing out the Dremel Trio--which would be an awesome tool to have, but unfortunately we don't.

So we improvised. 

We bought 1x2s in 6-foot lengths at Lowes (we bought the step up from pine, since they were less warped overall). It may have been poplar? But I can't remember, sorry!

In order to create the shallow groove for our "stuff" to rest in, and keep it from sliding off our shelves, Kirby ran the boards through a table saw (his dads--I wish we had room for one!) a couple times, adjusting the guide a tiny bit each time until the groove was the width we wanted. He just made sure the blade was nice and low so it only cut in between 1/8th and 1/4th inch. Old-school, yes, but very effective. 


Here you can see the groove before we cleaned it up a bit. This board was run through once more to get rid of that little nub. You can make the grooves as deep and as wide as you want, depending on what it is you are planning on sticking on the shelves!

Next Kirby sanded them. Then came the painting. I opted for white, since I thought it would look nice against the blue paint of the wall behind the couch. But this is an area where you can get creative! You could do a bright pop of color, or you could even stain them. 

No pictures of me painting. Or Kirby (he put on the first coat). Although, I assure you I looked very stylish out on our balcony/porch in my plaid pajama pants, Ugh boots, and old sweatshirt.
It was cold, okay?

Once the paint was all dry, it was time to stick 'em to the wall.
We used 3" screws so that they could go all the way through the shelf and into the studs.
Because of the position of our couch, the screws on the left side aren't the same distance from the end as the screws on the right. But once I paint them, who's gonna know? And I'll be honest. They don't even bug me all that much unpainted!

But I'm getting ahead of myself.
Are any of you perfectionists when it comes to hanging things level on the wall?
Try mounting a six-foot-long rail, which might even be a little bit warped.
Ha. I almost lost my mind. I started out with this plan:


Sort of a modified version of what was in the original tutorial. 
Epic fail. 

The most important part is to get the bottom shelf level.
Measure up from the back of the couch, and make a mark where you want the bottom/top of your shelf. I recommend making the mark on the wall above the studs you will be screwing into. Once you have the two screws in, you can adjust the middle part of the shelf for any bowing that occurs. 

From that point on, just measure up from the top of your lowest shelf to get your other shelf where you want it. Make sure you remember that you are measuring from the top of one to the bottom of the other. Or you could measure top to top. Just be consistent. And double and triple check your measurements!
When we mounted the third shelf up, Kirby forgot that we were measuring to the BOTTOM of the next shelf, and put the top of his end on the mark, and I put the bottom of my end on my mark. Ha. Easy fix, but it was rather perplexing for about 30 seconds. I was like, "That is NOT. LEVEL."

We mounted ours about 9" apart. They're not all exactly that far apart, but you can't tell.
The most important thing is to make sure they are level. 

Yes, my child was rather unhappy for some reason.
You can see how the screws on the right side are a couple inches farther in from the right end than the left screws are.

As I mentioned before, I still need to paint the screws. I'm planning on painting them very carefully with an art paintbrush. I want to make sure we can still get a screwdriver into them to get them out when we move!

Once the shelves are up on the wall, all that is left is to fill them!

Here was my inspiration photo:
They used primarily postcards, I think.

I opted to mount photographs on foam board. 
Plus one fabulous postcard from Ireland! Thanks, Liz!
 
I printed various sizes (8x10, 6x8, 5x7, 4.5x7, 7x10) so that the height of the images would vary. I cut out the foam board with my rotary cutter. If I was going to do it again, I would get a fresh blade. I think mine was pretty dull from all the coupon cutting I used to do with it. 

I mounted the photos with a spray adhesive I got at JoAnn's. Worked like a charm. I even got an adhesive which, depending on how you apply it, can be reused.
Lemme 'splain.
I can carefully pull the photos off, and simply stick a new image on! Pretty awesome. I'll find out how well that works once I actually swap some pictures out.

So there you have it.
Just think of the fun you can have with this! Holidays--stash all the usual stuff and fill it with themed stuff! If you tend to get lots of wedding announcements all at the same time, stick them up there instead of on the fridge! It's a great option for displaying kid's artwork, too! Or... license plate covers? The possibilities are endless! :)

Sunday, April 3, 2011

The Wall.

The shelves were up on the wall a while ago, but I finally got around to dressing them!


It's a work in progress.
Ideally that license plate cover will eventually make out out onto our CAR.
But you know. What's the hurry?
The thing I love about it is that if tomorrow the placement of one of the items is driving me nuts--I can change it! :) Plus it will be nice and cheap to swap a picture out here and there as a new favorite shot comes along. 

Maybe I'll even put up some of Emily's board books on the bottom shelf. 
Downside: I'd be picking them up off the couch all day and putting them back.

The only thing Emily has taken off the bottom row is the postcard in the middle. Since I mounted the photos on foam board from the craft store, they stick in the groove Kirby made really well. 
Hopefully she doesn't figure out my secret!

Now I just need to paint the screws white...

Wednesday, January 19, 2011

The Big Blue Wall.

So here's the plan. And I'm super excited about it.

I am going to shamelessly copy THIS idea, found HERE.


Which was inspired from THIS.

I'm planning on mounting 5x7 prints of our family, friends, and other cool looking stuff on foam board or something similar, to give it added stiffness, and then just stick them on the shallow "shelves." Of course, we would LOVE some cool postcards, too--if any of y'all have some sitting around or want to send one our way, shoot me an email at davisonphotography {at} gmail {dot} com and I'll send our new address your way. :)

I'm crazy excited about this because it will provide us with an art piece that is fun and modern, but it also easily changeable. It will be easy (and inexpensive) to switch out a 5x7 here, and a postcard there. It will also be easy to keep the pictures current--and it's a place to put those fun photos that don't quite make it into a frame. ALSO--in a space that would hold maybe 6-10 frames, we'll be able to fit 20+ pictures. 

I'm beyond excited.

The Tour

I have had several requests for more photos of the place, so here's how it looked today.
As in... I didn't clean up. At all.
Okay, so I vacuumed up the toilet paper Emily ripped into tiny bits in the bathroom. But that's all.
So don't judge. :)

Welcome to our apartment. This is the view from our front door. To the right of the TV is the hallway back to the bathroom and bedrooms, and you can see the office/dining room back to the left.

Living room view from the hallway.

This is the office/dining room. We just got the pictures up yesterday. Yes, I know my "D" is not quite centered. Gotta fix that. And we're going to stain the desk that Kirby made. I'm trying to decide between a stability ball (cheap, and good for you), or a cute little bench/ottoman that I can tuck under the desk. OPINIONS?

The view from the dining room into the living room. That door on the right leads to our balcony and storage area. No pictures of that yet. Whoops.

The kitchen. It opens up to the dining room/office, which is nice.

A slightly different view that shows the microwave. And my charming child.
Yeah, okay, so I'm mostly including this shot because I think Emily looks hilarious.
And that mountain of newspaper beside the microwave? That's my old spice rack. I need to decide which of those spices I actually use and create magnetic baby food spice jars for them. Kirby left it ugly and in the way to "encourage" me to do it quickly. :)

Okee dokes. Let's head down the hallway. First door on the left is the bathroom.

This room is pretty much full of stuff that is not intended for a bathroom.
For example: That big fluffy rug? NOT A BATHMAT.
Funny story. We didn't have one when we moved in. But I had that rug as a photography prop for babies. But the back of it is rubberized, so Kirby decided to stick it in the bathroom. 
I was planning on switching it out, but after having that fabulous thing underfoot for two weeks? 
Ummm... It makes sitting on the pot almost luxurious. Maybe we should find a toilet seat cover made out of the stuff?
The brown shag rug is also not a bathmat, but is not rubberized. Not ideal for in front of the door. I'm hoping to get one of those west elm jersey knit rugs for right there.

This IKEA shelf is not made for the bathroom. We bought it for the living room before learning that the stud locations don't really allow for us to hang it on the wall without it looking dorky. And it's pretty hefty. So now it serves us remarkably well in the bathroom. It gave us a spot to store TP that is accessible from the toilet--seriously, how awful is it when you've already sat down and you realize there's no toilet paper!? It also gives us a place to store all the stuff we use regularly in the shower, but don't want it cluttering the sides of the tub. One basket holds Emily's bath toys, and the other holds feminine hygiene products--also conveniently accessible from the pot. I still need to decide what to do on the top.

Towel hooks? It was our coat rack in our old place, but since we have a coat closet by our door, we don't really need it for coats anymore. It was a perfect solution in the bathroom, which had a cheapo towel rod which only fit one towel on it. Yes, that's the mounting bracket from the towel rod still there. We didn't want to strip out the screws, thus creating a problem when we have to put it back up before we leave...

Directly opposite the bathroom door is our washer/dryer closet. Forgot to photograph it.

Next room on the left is Emily's room. It also serves as a storage room of sorts. It is in no way set up how I want it yet. I would like to put the crib up against the accent wall, and hang pictures above it. I just haven't gotten to this room at all yet. And yes. We have a toddler bed in there, too. We were gifted one from my aunt, and we don't have anywhere to store it--we figured it looked nicer set up than leaning up against the wall. Emily to climb into and out of it over and over again. Although, I don't think she understands what it is yet.

View from the window. Half of that closet is taken up by our water heater. Big bummer. What whatcha gonna do?

If you walk straight down the hallway you walk right into the master bedroom.

View from the window. That's our walk in closet, which provides us with half the closet space we used to have in our bedroom. :) We're managing. If anything, it just helps encourage us to take clothes we never wear to Goodwill.

Phew! Walk back down that hallway, and turn left and you're back at the front door!

Still lots to do. I need to:

 *Bedroom: 
Create a new headboard for the bed. 
We had to take off the one that came with it because it requires the bed to be several inches off the wall, 
and we couldn't comfortably fit the dresser at the foot of the bed with it on--and there was no other place to put the dresser.
Find homes for the junk on top of our dresser.
Reorganize the closet and try and find another home for Kirby's tools.
Window treatments.
New Bedding.

*Bathroom:
Get a new shower curtain and towels for the bathroom.
I love the curtain we have. The texture is gorgeous. But it is the same color as our walls. And the bathroom NEEDS COLOR. Desperately.
Who knows. Maybe once we have bath towels with color it will look super-fab.
Figure out what to do on top of the bookcase.
Get some legit bath accessories.
Do something beautiful above the toilet.

*Emily's Room:
Uhhhh... Set it up. :)
Figure out how to either get rid of enough stuff so we have room in actual storage spaces for the extra boxes, or find a clever way to conceal them in her room.
Window treatments.

*Living Room:
Do the picture rails above the couch. 
Buy new lamps?
Find a teensy side table for Kirby's chair so we can get more light in that room!
There's no overhead lighting. BWUUUT!?
Learn how to make Roman shades for the window.

*Dining Room/Office/Kitchen:
Roman shade for the window in a fabulous color. 
Print new photos for the frames.
The ones in there have never been switched and most are pre-marriage!
Stain the desktop.
Organize desk. a.k.a. find space for the extra junk.
Finish spice jars.

Ummm... so yeah. That's the tour!

Monday, January 17, 2011

Oh, Yum.

How delicious are THESE!?
found here...


Um, yes. I would love to have one of those bathmats underfoot while I brush my teeth. Sign me up!
I wish they came in more colors, but I think white could totally work in our bathroom.

Ok, so I'll make it work!

Friday, January 14, 2011

The News from Washington

So far, so good.
We have things moved in and organized to a point where we are as far as we can go before getting another bookcase. 

We're gonna get one from IKEA. 
I went there this past Saturday (Have any of you ever been on a Saturday?? INSANE.) and got two dressers to go under our TV and a small(ish) shelf which ended up in the bathroom. We were going to hang it on the wall, but it's a hefty lil' thing, and the studs just didn't line up in the living room. Bummer. Anyhoo, that final bookcase wouldn't have fit in my car along with the other items. It's 79 1/2 inches long, for goodness sakes! Plus, it was the first item I found in the self serve area, and I was alone, and chickened out. I was alone with the dressers and shelf, too, but by the time I found them I was in this-trip-will-be-a-total-waste-if-I-don't-suck-it-up-and-find-a-way-to-get-these-on-my-cart mode.

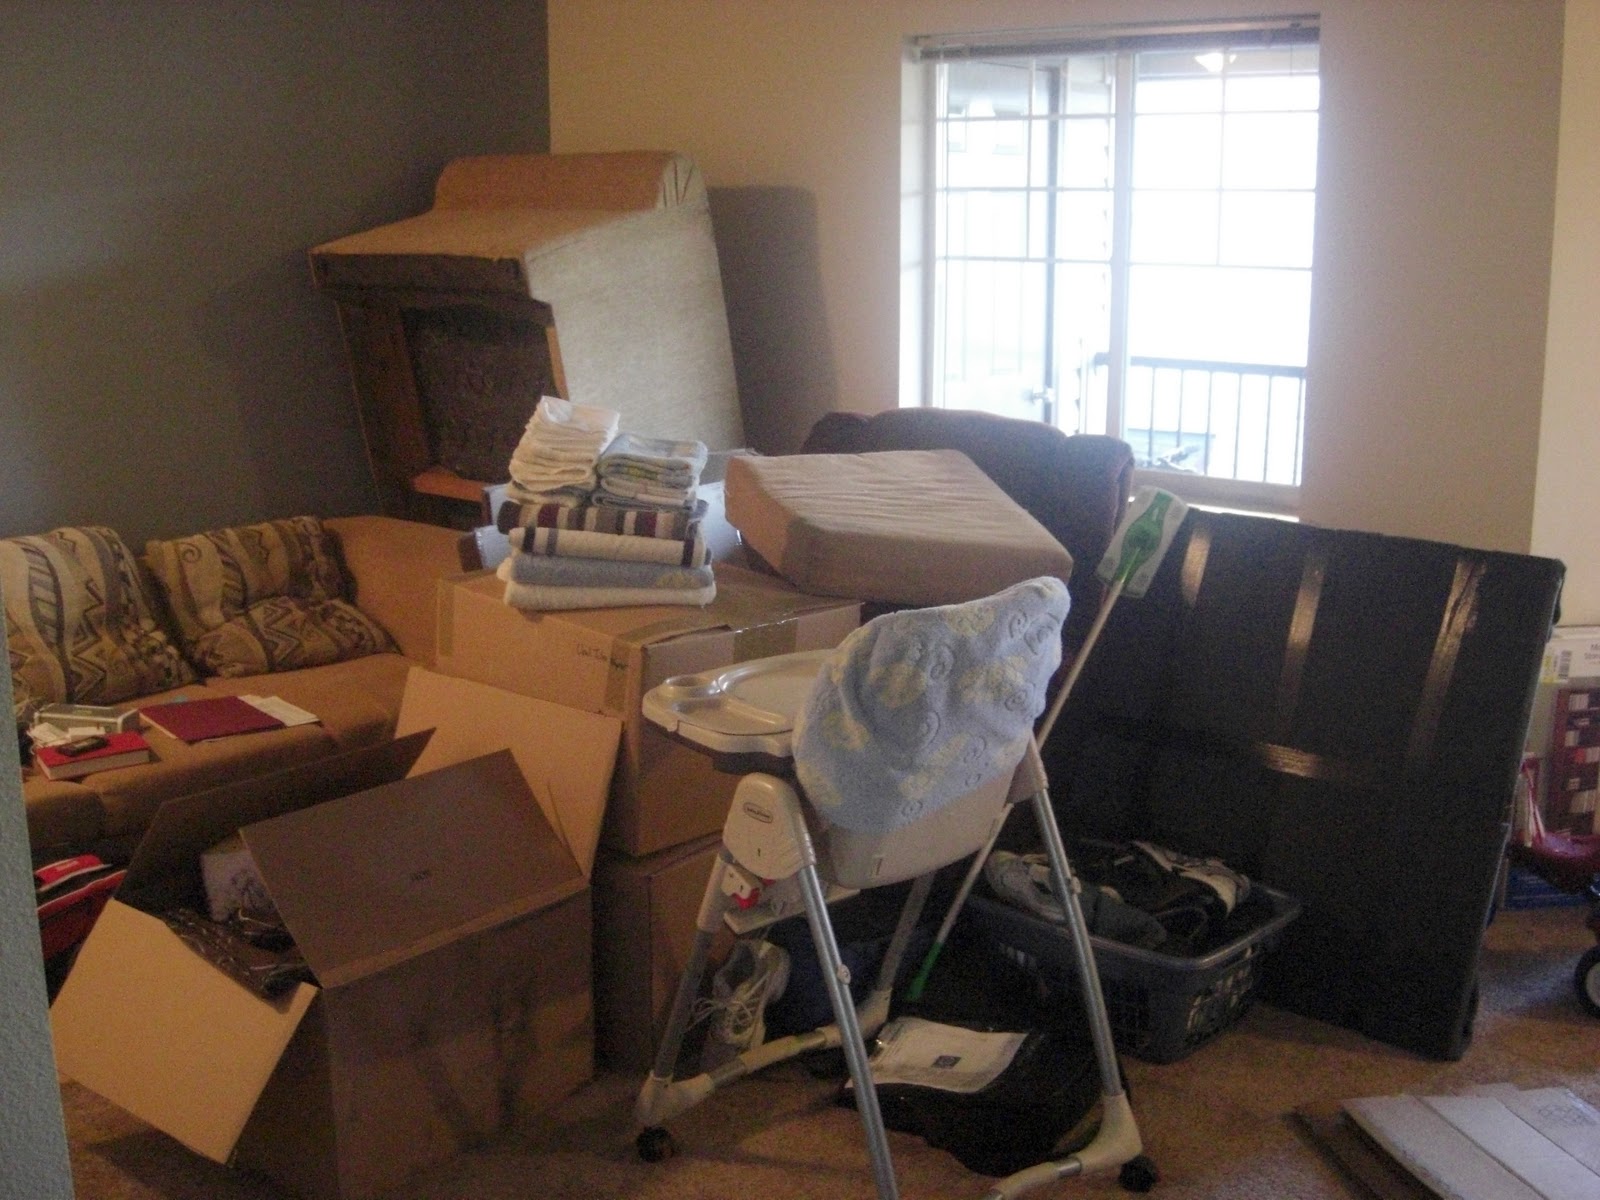
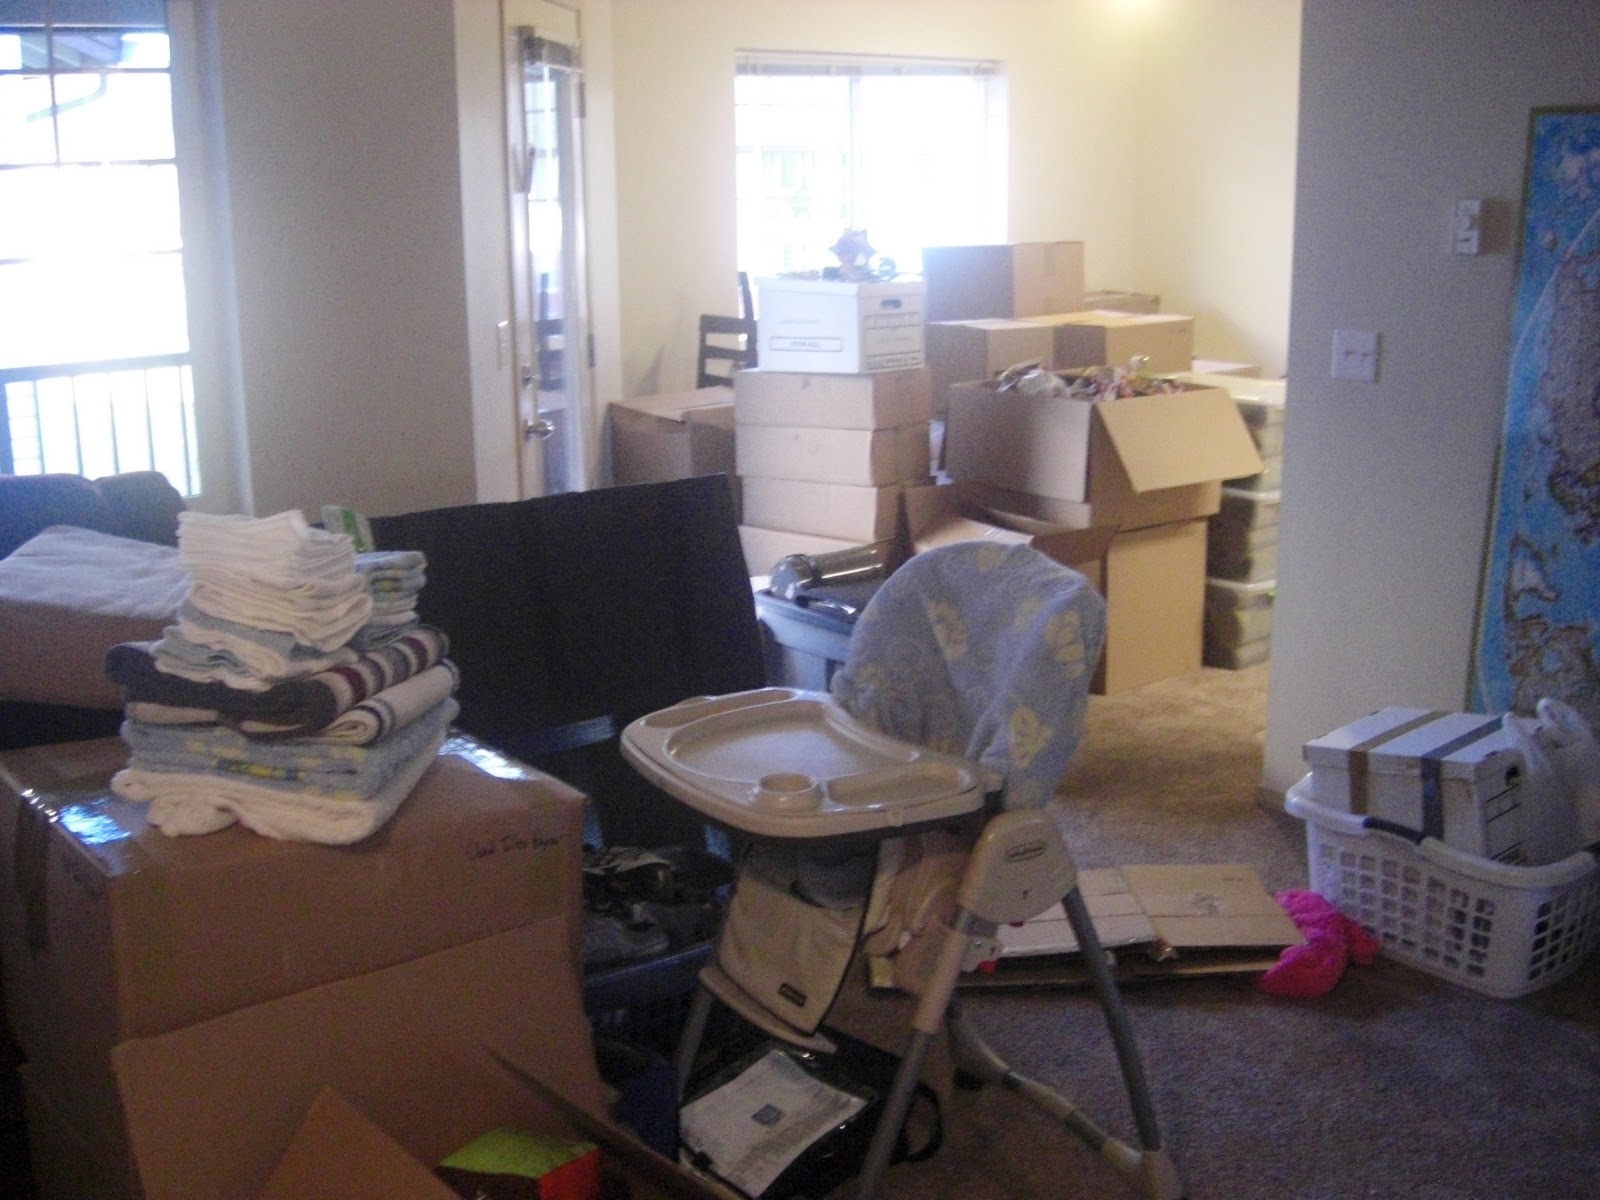
So... our place used to look like this:

Master Bedroom.
Emily's Room.
 Bathroom. Obviously.
Living Room.
 View from the front door of the living and dining room.

Now it doesn't. And I'll get pictures again soon. I am too tired and lazy right now to do it. Plus--they'll be better with natural light coming in the windows anyways. 

Our trip here was a bit crazy. I've already mentioned the crazy weather, and the truck delay... But I've only barely gotten to upload any pictures.

Our couldn't-have-survived-withouts were the DVD player, goldfish crackers, and kix.

This is what the road looked like before we got to Pendleton for the night. I know what you're thinkin'. What road? So glad I wasn't driving.


This is how I felt by the end of it all, too.

And some non-roadtrip shots. Just 'cause.
Emily prefers to sit in the lid to her puzzle box when she watches TV.

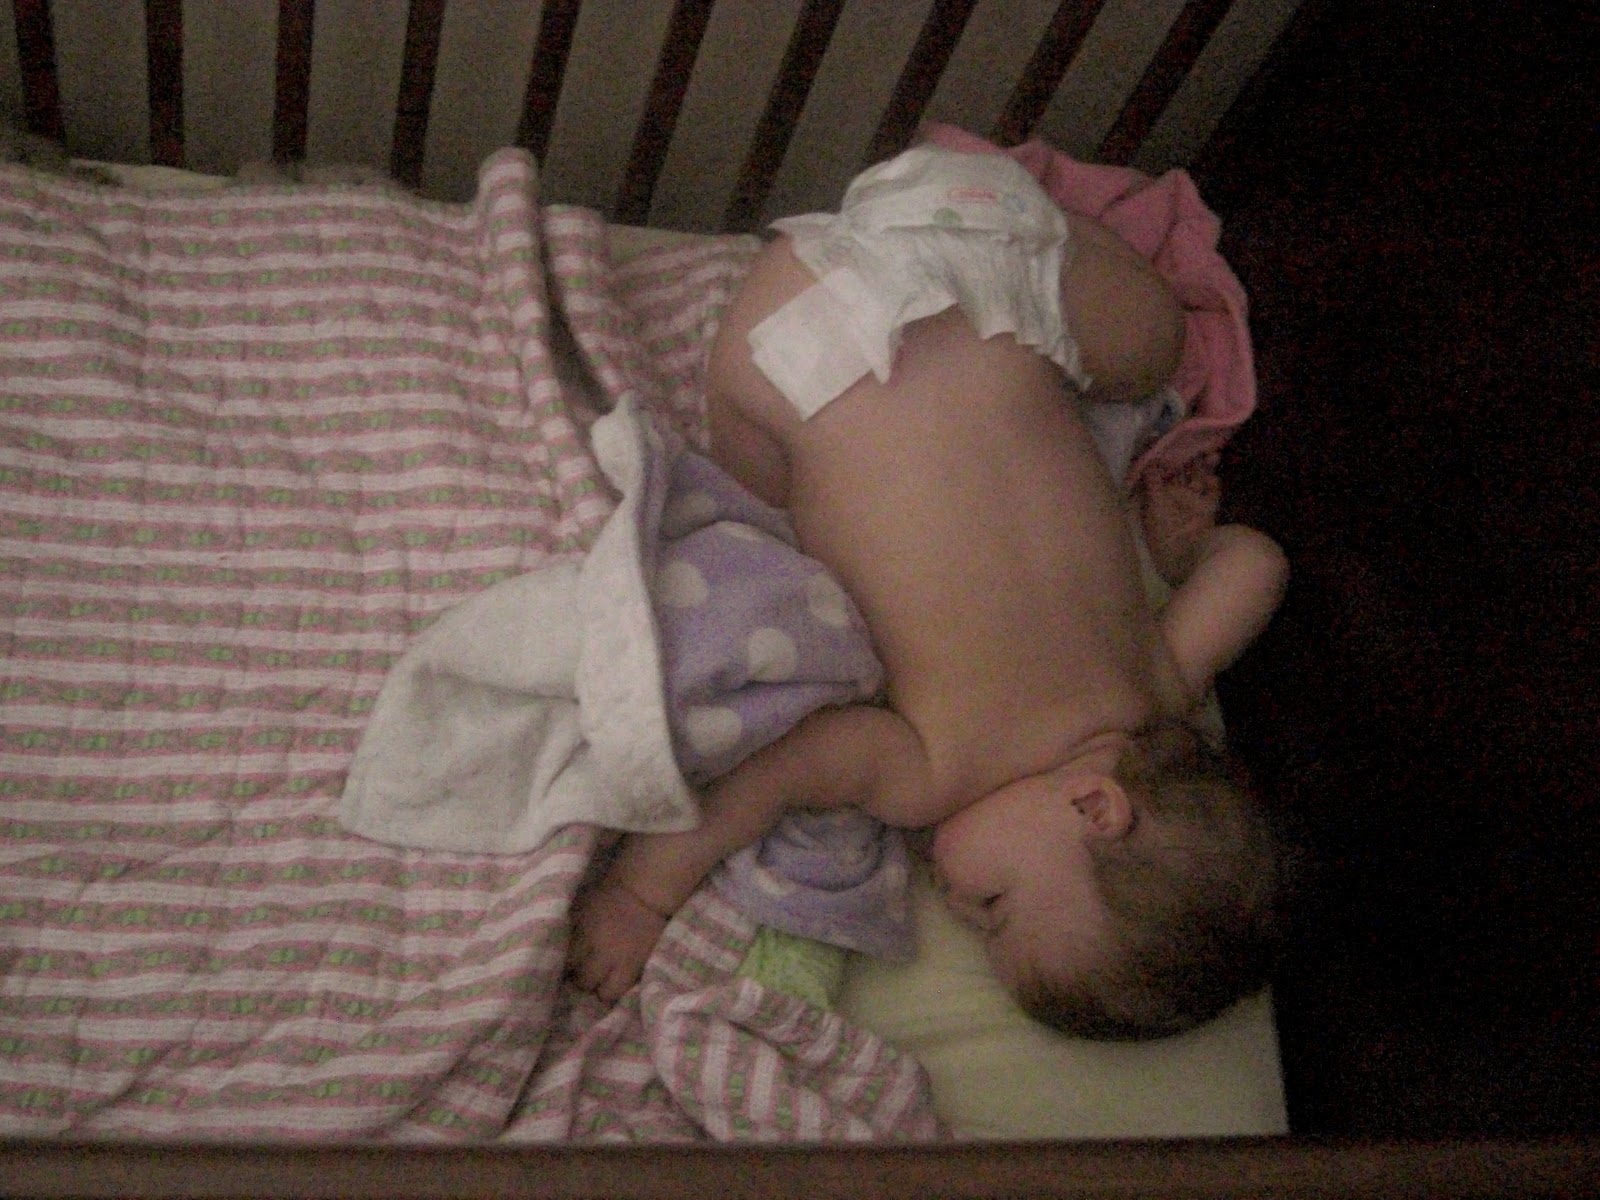
I came in to check on Emily during her nap one day to find this. Whoops!
Yes, the right side of her diaper managed to come undone. Fabulous.

I decided to let Emily have a go at a bowl of yogurt all by herself yesterday.
She loved it. 
By the end of it everything was coated in yogurt.

She doesn't quite have the spoon thing down yet. Sometimes it's just easier to eat with your fingers...


©2009 DAV.I.SON. | by TNB